I was really happy making focaccia after a 17-year long ban! That’s right, focaccia was banned in my family, because we devour them immediately, a large 11×17 pan. I changed the recipe and made it into a 9×13, and we had the same problem! But I have to share a couple more kinds, for communion of course, and then I’ll put it back on the ban list.

There are two secrets to making focaccia with really good flavor. The dough must be rested overnight to properly develop the flavor. The other secret is in the olive oil. Using a quality olive oil is always important, but it’s turning the olive oil into a very tasty herb oil that makes focaccia very tasty. It will impart all the flavor that your focaccia needs without relying on toppings. I am putting Peter Reinhart’s recipe for dried herb olive oil, and also my fresh herb and garlic oil below.

Tips:
– Weight your flour, I use the stir and spoon method
– I recommend using Fleischmann’s new yeast with dough improver, which you should be able to find at your grocery store. My bread seems to have a better texture.
Please do not use my recipes for your own personal gain, thank you. They are meant to encourage communion and fellowship with family and friends.
Focaccia
Ingredients:
4-1/2 (510 grams) cups bread flour
2 cups (420 grams) water
1 package (2-1/4 tsp or 7 grams) Fleischmann’s® RapidRise® Plus Instant Yeast with Dough Enhancer
1-1/2 teaspoon (9 grams) kosher salt
1 tablespoon (14 grams) olive oil
Other Ingredients:
1/2 cup flavorful herb oil (homemade recipe, see below)
Coarse salt for sprinkling
Not necessary but helpful:
Disposable gloves
Parchment paper
Butcher’s twine
Dough:
Making by hand (recommended)
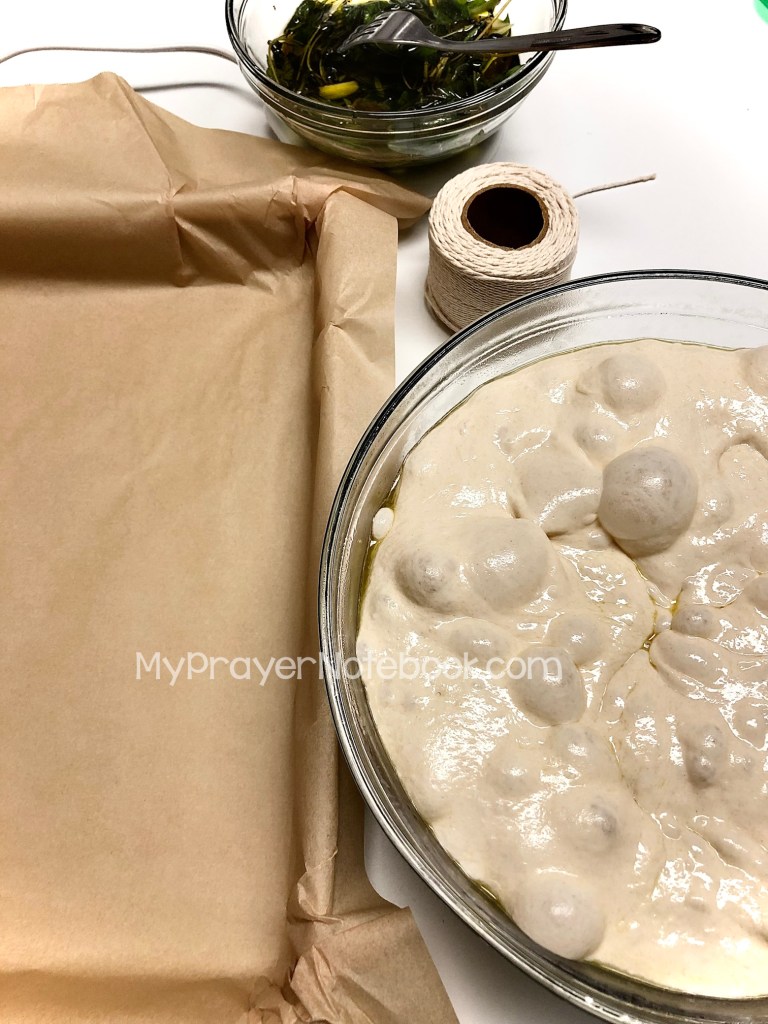
In a medium sized bowl, add the bread flour and make a well in the center. Add the salt to the upper wall of the well. Salt kills/impedes yeast, I don’t like to make direct contact immediately. In the well, add yeast, olive oil, and water. Mix with a silicone spatula if you have one, or a large metal spoon. Once it’s a cohesive mass, cover tightly with plastic wrap and allow it to rest for 30 mins. After it’s done resting, do 4 sets of stretch and folds. If you are unsure that the gluten is properly developed, do one more set of stretch and folds, totaling 5 sets.
Stretch and fold
If you have gloves, this is easy, if not your hands may need a little oil for the stretches. The dough will become smoother with each stretch and fold. Pick up the right side of the dough and pull up until you feel good amount of resistance, and then fold it into the center. Pick up the left side of the dough and pull up until you feel a good amount of resistance from the dough, and gently push it into the center. Pick up the bottom and top using the same method. Rest the dough and repeat 3 more times, for a total of 4 stretch and fold events. If you are unsure, do 5 sets.
Standing Mixer (not recommended)
In the bowl of your standing mixer, make a well with the bread flour. Add the salt to the upper wall of the well. Salt kills/impedes yeast, I don’t like to make direct contact immediately. In the well, add yeast, olive oil, and water. Use the paddle attachment, if you don’t mind cleaning it; or mix with a silicone spatula if you have one, or a large metal spoon then switch to the dough hook. Mix the dough on medium low for 10 mins, periodically scraping the dough down and turning over the bottom. Check to see if the gluten is properly developed. If you don’t know, it’s a little difficult to do a windowpane test, then just allow the dough to rest for 20 mins and do one stretch and fold.
Proofing:
Place your dough in a large, oiled bowl covered in the fridge over-night to rise. I highly recommend slow rises, because it makes for easier digestion. Not to mention, slow rises make for easier eating. When you eat doughs that haven’t been resting for very long, you play a game of tug of war with your teeth, you bite down and pull. If you can’t wait, you can rest the dough for 40 mins in a warm place.
Pan and shaping:
Find a warm place for your focaccia such as your oven with the light turned on.
If you’re using (insurance) parchment paper: rip off a large piece of parchment paper, enough to cover the sides. Turn the pan over, bottom up, and smooth the parchment over the pan, forming the corners. Flip the pan over and tuck your formed parchment into the pan. Once it’s snugly fit, take your twine and tie around the lip of the pan securing the parchment paper around the edges. Trim off the excess parchment and twine. If your parchment sticks up high, it may not brown properly.

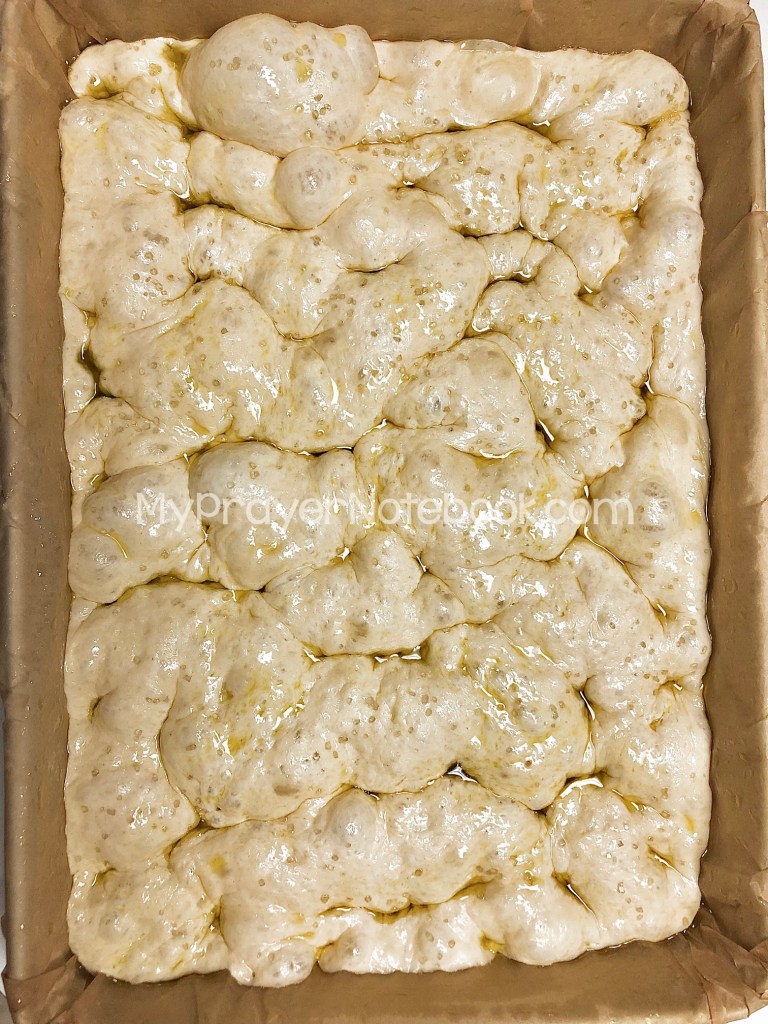
Use your flavorful herb oil, and drizzle 3 tablespoons on the bottom of the pan, if you’re not using parchment paper go for 4 tablespoons. If you have disposable gloves, now is a good time to use them. Oil your dough pushing hand, not your bowl holding hand, and dump the dough out gently into the pan scraping the bowl with your hand as you dump. Be mindful not to degas the bubbles. Oil both hands and very gently lift from the bottom and stretch the dough close to the edges. Try to avoid the urge to push down and stretch the dough.
Quick focaccia: rest the dough for 40 mins in a warm place
Overnight focaccia: rest for about 1 hour and 40 mins in a warm place. Check the bottom of the pan and make sure it’s warm, same as the temperature as your warm place. If it’s still cool, leave it a little longer.
Sprinkled with green Hawaiian bamboo salt
Baking:
Gently remove your focaccia from the oven. If you are eating your focaccia all immediately, you’ll bake on the bottom rack, if you will be reheating your focaccia, bake in the middle. Preheat your oven to 400° degrees, and continue resting your focaccia 20 mins longer, both quick and overnight (total of 1 hour for quick, total 2 hours for overnight).
Right before you place your focaccia in the oven, after your last 20 min rise, use your flavorful herb oil and drizzle at least 4 tablespoons of olive oil over the top of the dough.
Dimpling: It’s not necessary! Dimpling is only if you really like olive oil and want the olive oil to drizzle through the center of your focaccia. In which case, you may need more than 4 tablespoons of olive oil. You can brush more on when it comes out of the oven if you didn’t use enough. Oil your fingers or get some gloves especially if you have long fingernails, and press your fingers to the bottom of the pan and very slightly jiggle them before lifting. Dimple a little or a lot across the pan, depending on how much oil you want to seep through. Again, dimpling is not necessary, it’s for those who really enjoy olive oil.
Sprinkle with large coarse salt, if you like salt. Add your toppings, if you’re using them.
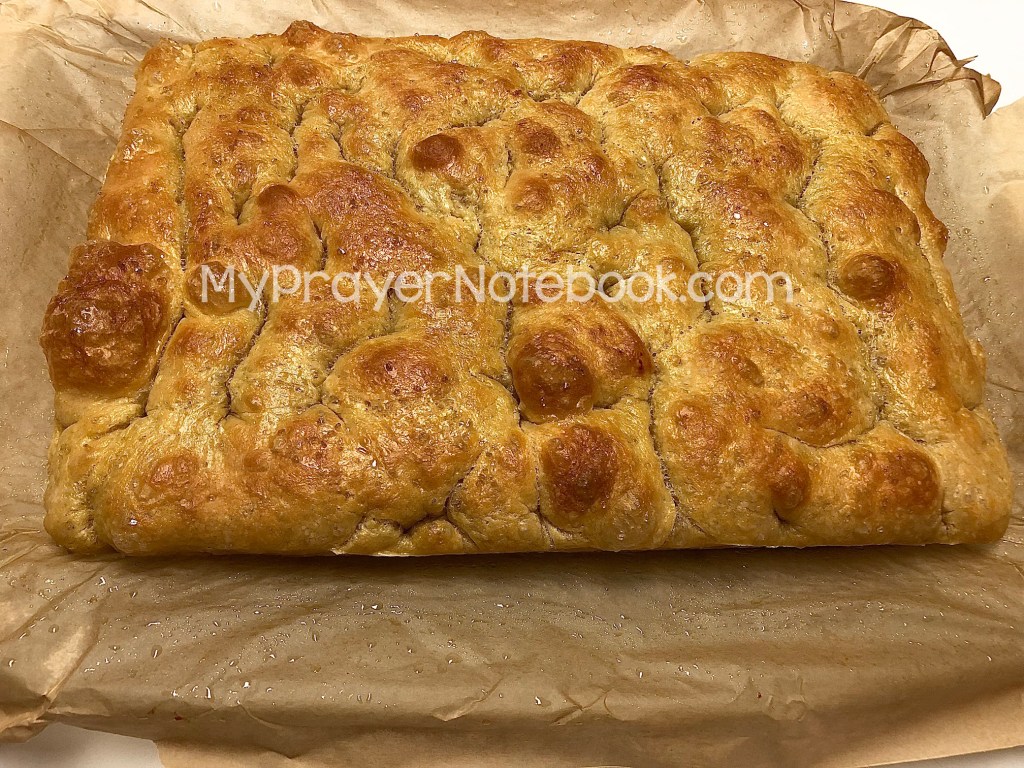
Bake for 16-18 min on the bottom rack, or 18-20 mins on the middle rack. The internal temperature should be 195°-200°. The focaccia should be lightly browned and crispy. If your focaccia looks dry, quickly brush a little extra oil on it and bake it another minute.
Being mindful the pan is hot, cut the twine, lift the parchment paper, and move to a cooling rack. Wait at least 15 mins for the focaccia to cool, because the oil is HOT!
Reheating:
If you are eating the focaccia at a later time, put a chunk of focaccia in a nonstick skillet on medium-low heat and flip in 2-3 mins. Keep flipping and heating for a very crunchy crust!! Then slice and immediately enjoy. We really like to do this before dipping in sauce. If you brown the focaccia in the oven too much, when you reheat, it will be too dark.
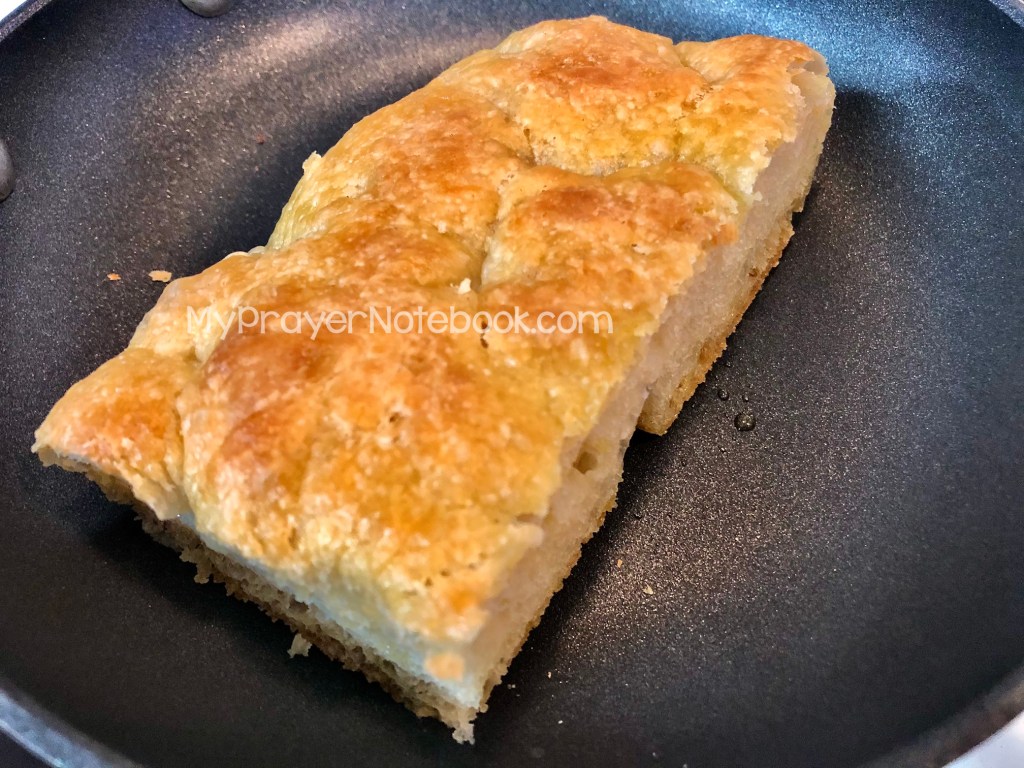
Truthfully, I think we like the focaccia better reheated with a very crispy crunch.
Herb Oil
The most important thing about herb oil, is that *YOU* like it. Taste your oil and make adjustments that you think are necessary. The best herb oil is the one that you make.
Peter Reinhart’s Dried Herb Oil
1 cup olive oil
1 tablespoon dried basil
1 tablespoon dried parsley
1 teaspoon dried oregano
1/2 teaspoon fresh rosemary leaves or dried
1/2 teaspoon dried thyme
1 teaspoon granulated sugar
1/2 teaspoon red pepper flakes, optional
1/4 teaspoon hot or mild paprika, optional
1 teaspoon kosher salt or coarse sea salt
In a bowl, whisk together the oil, basil, parsley, oregano, rosemary, thyme, garlic and pepper flakes and paprika (if using), gradually adding the salt and whisking the oil to bring the salt to the surface before tasting. Store in the refrigerator in a container with a lid, where it will keep for at least 6 months. Makes 1 cup.
Cook’s Note:
I recommend using whole-leaf dried herbs, not ground herbs, for the Herb Oil. If you’d prefer to use fresh herbs, use three to four times more than the dried herbs by volume, mince them and stir them into the oil immediately to prevent oxidation.

Christi’s Herb Oil
3/4 cup olive oil
2 large garlic cloves, sliced
1 teaspoon honey or hot honey
1/3 cup fresh torn basil
1 sprig rosemary, torn and stem bent
8 springs thyme
3 fresh sage leaves torn
I place a small glass bowl on a candle warmer, add everything, and allow it to seep for 2 hours while my focaccia rises. I periodically walk by and bruise everything with a fork. Of course you can make it ahead of time and store it in the refrigerator. Don’t forget to take it out when you remove the dough.
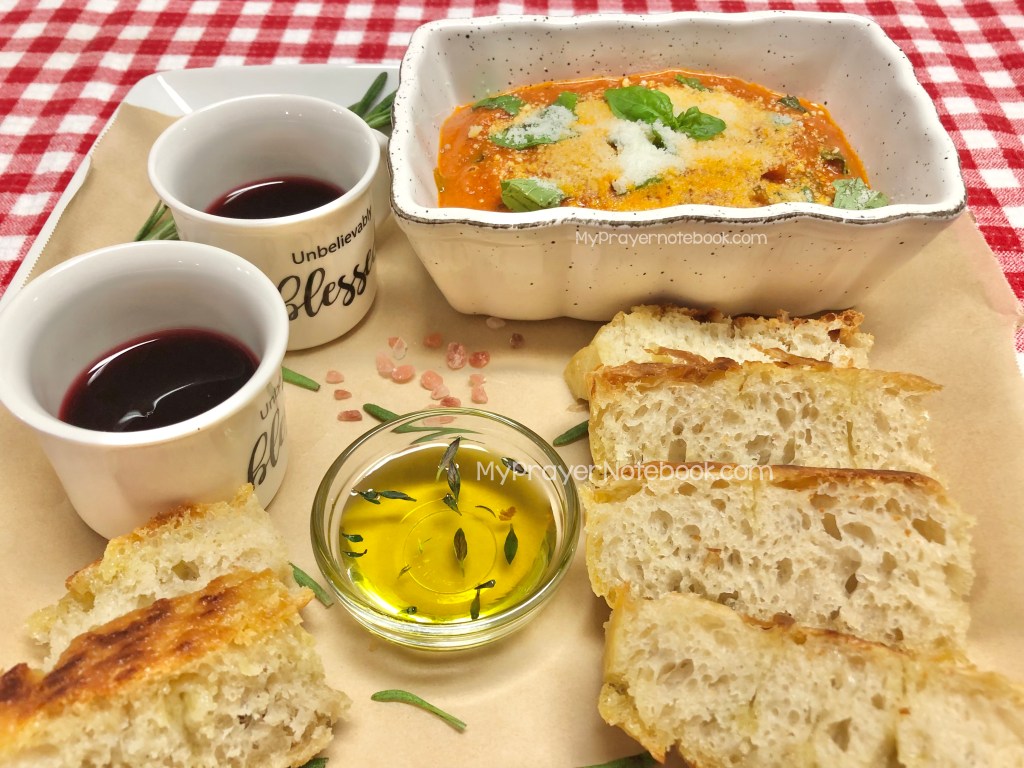
Extra crunchy focaccia that was reheated. The dip was creamy tomato sauce with crispy Genoa salami, fresh basil, and topped with Pecorino Romano.
Communion
As I was making this dough, what was on my heart for communion is the words that we speak. We sometimes get extremely frustrated with people and situations, especially repeated ones, and speak bad things. Other times when we’re praying or just expressing good emotions we speak blessings over people. As you take communion, it’s a good time to ask the Lord to burn up the things spoken over people and situations out of frustration; and also to ask Him to refresh every blessing that you spoke over yourself, people, and situations. Cancel out the bad, and double up on the good.
Always remember that God is absolutely good, and He is for you.
Blessings in Christ
Christi

Leave a comment